Items used to complete this project:
You will also need a drill and drill bits to complete the project.
Once all the parts are in and you get started, clean out the trunk so you can essentially lay in it. Then drill out the riveted in studs that hold the torsion bar to the trunk arm. There is a serious word of caution – The trunk torsion bars do way more than I ever expected, the trunk is incredibly heavy without them. Once the are drilled out, you can work the torsion bars loose.
Once the Torsion bars are loose and removed, you can drill the existing hole to accept a rivnut. Or you can use a ball stud that is long enough to go all the way through. I chose the rivnut method as I believe it is a far cleaner look. There are two sets of holes in the support arms, the set that held the torsion bar will be the best one to minimize the travel of the Gas Strut. Another hole can be drilled into the arms, just make sure you do so on each side evenly.
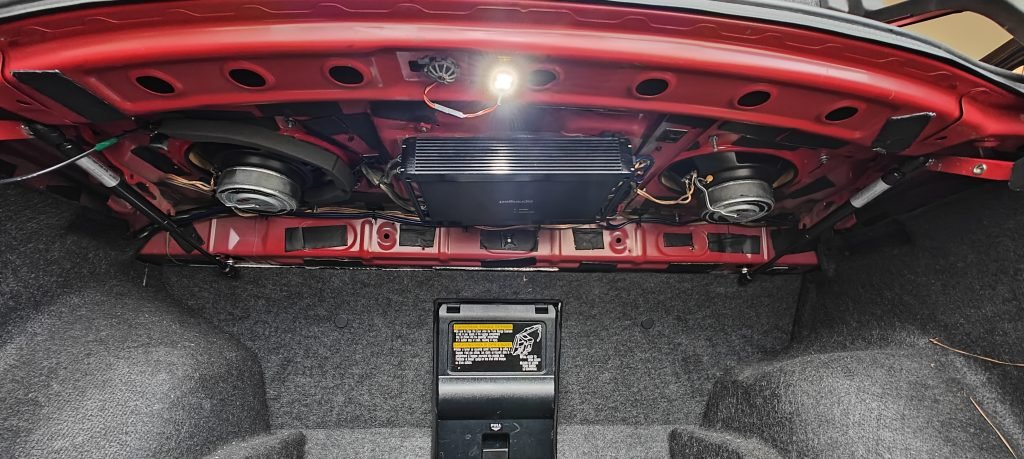
Once the rivnuts are installed, thread in your ball stud. Measure the extended length of the gas strut for the hole in the sheet metal in front of the rear speakers. There is a small hole that you can get your fingers in to install a washer and a nut to tighten it to. Alternately you can create two holes and utilize the bracket. I went with option 1 and think I will end up going to the bracket to reduce the stress on the sheet metal. The gas struts are very strong and do deform the metal as you open and close the trunk.
Once the the ball studs are all installed you can install your gas struts. These should just press on, again be careful as the trunk is very heavy without the tension rod.